TL;DR: To adjust a knitting pattern for gauge, compare your stitch gauge to the pattern gauge, calculate a simple multiplier, and use it to update stitch counts, row counts, or finished measurements. If the fabric feels good and the math change is reasonable, you can often save the project without ripping everything out and starting a small emotional bonfire.
If you’ve ever swatched honestly, measured carefully, and still ended up staring at numbers that don’t match the pattern, welcome. You are extremely normal.
A lot of knitting advice stops at “just get gauge,” which is lovely in theory and not always helpful in real life. Sometimes your fabric looks great, but the stitch count is off. Sometimes the yarn you want to use is close, not perfect. Sometimes the pattern gauge and your hands are simply not entering into a respectful working relationship.
This is where gauge adjustment comes in.
Instead of guessing, you can use a few small calculations to figure out what changes. That might mean adjusting stitch counts. It might mean knitting a different size. It might mean deciding the pattern isn’t worth the spreadsheet energy. All of those are useful answers.
And if you want the calculator version instead of doing the math on a sticky note with increasingly hostile handwriting, the Project Size Converter is built for exactly this.
What does it mean to adjust a knitting pattern for gauge?
Adjusting a knitting pattern for gauge means changing the stitch counts, row counts, or size instructions so your finished project matches your actual fabric instead of the designer’s sample gauge.
In plain English: the pattern was written for one fabric. You made a slightly different fabric. Now you need the numbers to behave accordingly.
This matters most for garments, hats, mittens, socks, sleeves, and anything else where fit is doing actual work. A scarf can be a little freerange. A sweater really can’t.
First, decide whether the fabric is worth saving
Before you do any math, ask the boring but important question: do you actually like the fabric you made?
If your swatch is stiff, limp, holey, scratchy, or generally giving “this will annoy me for months,” don’t force yourself into advanced pattern math just because the numbers are close. The correct move might be:
- change needle size
- change yarn
- knit a different size
- choose a different pattern
- go lie down for ten minutes and come back when the yarn feels less smug
Gauge adjustment only makes sense when the fabric itself is good enough to keep.
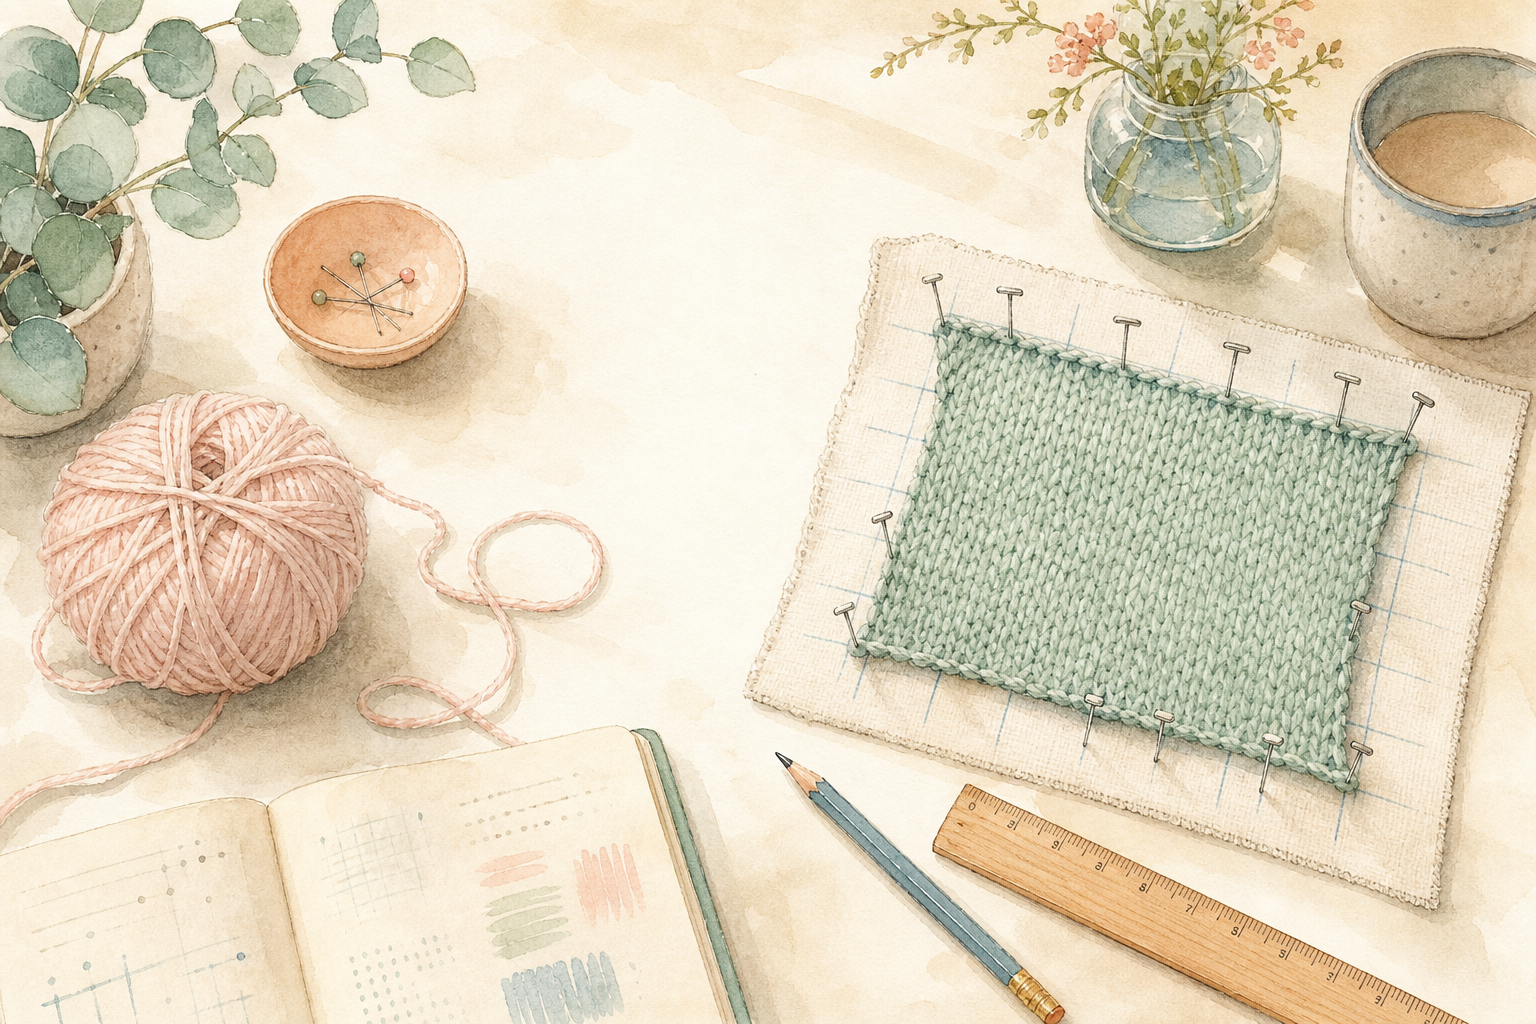
If you haven’t made a proper swatch yet, start with How to Knit a Gauge Swatch. That post covers the unglamorous but useful part: making a swatch big enough to trust.
The three ways to handle off-gauge knitting
When your gauge is off, you usually have three realistic options:
| Option | Best for | What changes | Risk level |
|---|---|---|---|
| Change needle size and re-swatch | Small gauge mismatch, fabric still close | Tool size | Low |
| Knit a different pattern size | Garments with multiple sizes and simple shaping | Which instructions you follow | Medium |
| Adjust stitch and row counts directly | Custom fit, noticeable mismatch, or pattern mods | Pattern math | Medium to high |
Most knitters try the first option first because it’s the least dramatic.
But if your fabric feels right and the math is only a little off, direct adjustment is often completely manageable.
The gauge math you actually need
You don’t need a math degree. You need two measurements and one calm moment.
1. Find your stitch gauge and row gauge
Measure your blocked swatch.
For example:
- Pattern gauge: 22 stitches and 30 rows = 4 inches
- Your gauge: 20 stitches and 28 rows = 4 inches
That means your stitches are slightly bigger than the designer’s stitches.
2. Calculate your stitch multiplier
Use this formula:
your stitch gauge ÷ pattern stitch gauge = stitch multiplier
With the example above:
20 ÷ 22 = 0.91
Your stitch multiplier is 0.91.
That means most stitch counts in the pattern need to be multiplied by 0.91 if you want the finished width to stay close to the original.
3. Calculate your row multiplier
Use this formula:
your row gauge ÷ pattern row gauge = row multiplier
Example:
28 ÷ 30 = 0.93
Your row multiplier is 0.93.
That means row-based instructions might need to be shortened a little if length or shaping placement matters.
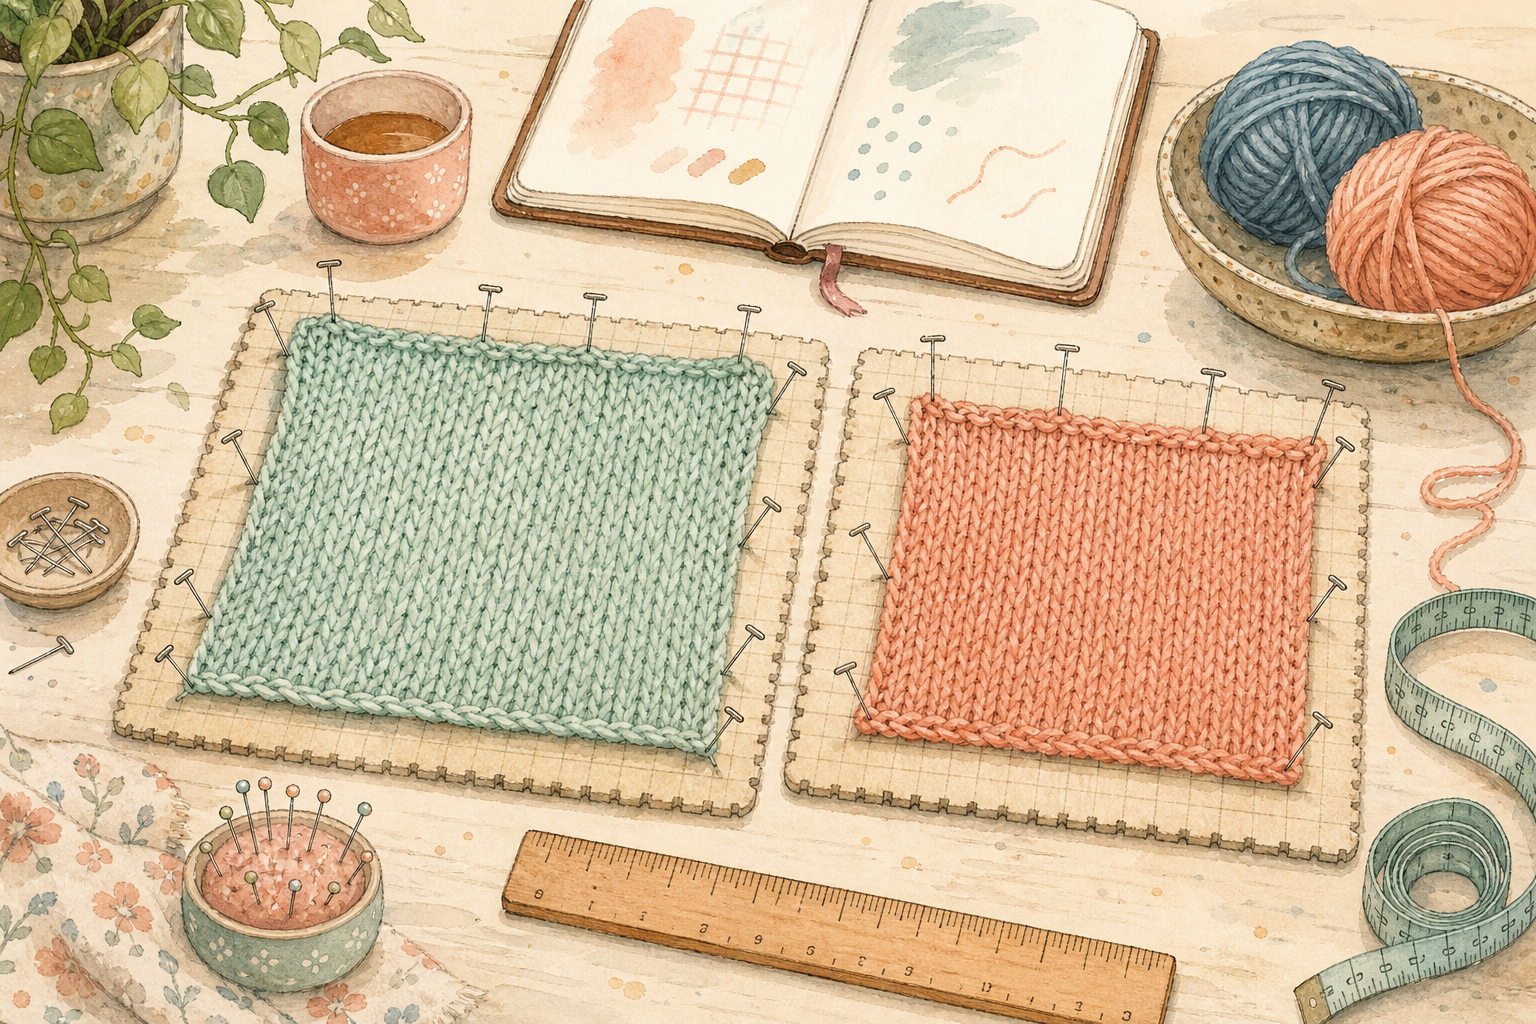
Two swatches can both look cute and still produce different math. Annoying, but useful.
How to adjust stitch counts
If the pattern says to cast on 198 stitches, multiply that by your stitch multiplier:
198 × 0.91 = 180.18
Round to a number that works for the pattern repeat.
So if the stitch pattern allows it, you’d cast on 180 stitches instead of 198.
This is the basic rhythm for almost every width-related adjustment:
- cast-ons
- bind-offs
- sleeve counts
- body stitch counts
- neckline pickups
- chart repeats, if the repeat structure allows it
A very important repeat-shaped caveat
If the pattern repeat is based on a multiple like 6, 8, or 12 stitches, don’t round to a random number just because the calculator said so.
Round to the nearest number that still works with:
- the stitch repeat
- any selvedge stitches
- shaping symmetry
- ribbing alignment
This is where the math gets less “calculator” and more “small diplomacy summit.”
How to predict finished size if you change nothing
Sometimes you want to know what happens if you keep the pattern stitch counts exactly as written.
Use this formula:
pattern size × pattern stitch gauge ÷ your stitch gauge = your new finished size
Example:
- Pattern is written for a 40-inch bust
- Pattern gauge is 22 stitches per 4 inches
- Your gauge is 20 stitches per 4 inches
Calculation:
40 × 22 ÷ 20 = 44
That 40-inch sweater will come out around 44 inches if you keep the original stitch counts.
That isn’t a disaster if you wanted extra ease anyway. It is a disaster if you were already choosing the looser size.
This one formula can save a lot of denial.
How to adjust rows without making yourself miserable
Row gauge is often the trickier part.
If the pattern says work 72 rows and your row multiplier is 0.93:
72 × 0.93 = 66.96
You’d work about 67 rows.
That said, rows are not always best adjusted by strict multiplication.
For many patterns, it’s smarter to work to a measurement instead of a row count, especially for:
- body length
- sleeve length
- yoke depth
- distance before armhole shaping
- neck depth
If the pattern says “work 54 rows” but also tells you the piece should measure 7.5 inches, trust the measurement more than the row total.
When row gauge matters a lot
Be extra careful with row changes in patterns that include:
- raglan shaping
- set-in sleeves
- circular yokes
- colorwork motifs with fixed height
- complex lace or cable panels
In those cases, adjusting stitch counts might be easy while adjusting row counts might create entirely new plotlines.
When knitting a different size is smarter than rewriting the pattern
Sometimes the easiest solution is to knit a different size from the pattern.
Example:
- You want a finished bust of 40 inches
- Your stitches are bigger than the pattern’s
- The pattern includes sizes 36, 40, 44, 48
If your gauge means the 36-inch size will finish closer to 40 inches in your fabric, it might be easier to follow that size’s stitch counts than to rewrite every instruction manually.
This works best when:
- the pattern has well-graded sizes
- the shaping is consistent across sizes
- the difference is modest
- you are comfortable checking lengths as you go
It works less well when the pattern has dramatic shaping changes between sizes or when your row gauge is also very different.
When not to adjust a knitting pattern for gauge
Sometimes the honest answer is: don’t.
Skip gauge adjustment and go back to swatching if:
- the fabric feels wrong
- your gauge is wildly different
- the pattern uses complicated all-over charts
- the stitch repeat breaks badly when rounded
- the shaping is too intricate to edit comfortably
- the yarn behaves nothing like the original fiber
This isn’t failure. It’s just a boundary.
A peaceful restart is often faster than wrestling a cardigan into a spreadsheet that now knows too much about you.
A practical workflow you can actually follow
If you want the calm version, do it in this order:
- Swatch and block honestly.
- Decide whether you like the fabric.
- Compare your stitch and row gauge to the pattern.
- Check what happens if you knit the pattern as written.
- Decide whether to change needle size, knit a different size, or adjust the counts.
- Recalculate cast-ons and major shaping numbers.
- Double-check stitch-repeat multiples before you trust your rounding.
- Work row-based sections to measurements when possible.
That’s the whole system. Slightly fussy, yes. But much less chaotic than hoping a sweater simply learns to cooperate later.
This is the moment where the project stops being a mystery and starts being a plan.
How Knotledge helps with gauge adjustment
This is exactly the gap between “I have numbers” and “what do I do with these numbers?”
Use the Project Size Converter when you want to:
- compare your gauge to the pattern gauge
- see how the finished size changes
- convert stitch counts for your actual fabric
- sense-check whether a small mismatch is fine or a bigger problem
A few other tools help too:
- Hook & Needle Converter if the pattern lists a tool size in a system you don’t use
- Yarn Weight Converter if the yarn swap changed more than just needle size
- Yarn Yardage Estimator if the new gauge or size means you might need more yarn than the pattern originally called for
The blog is for understanding the why. The tools are for getting you out of calculator jail.
FAQ: adjusting a knitting pattern for gauge
Can I knit a pattern if my gauge is off by one or two stitches?
Usually, yes. A small gauge difference can be manageable, especially for accessories or garments with ease. The important part is checking how that difference changes the finished measurement before you commit.
Is stitch gauge or row gauge more important?
Stitch gauge usually matters more for fit because it controls width. Row gauge matters more for shaping depth, sleeve length, yokes, and motifs with a fixed vertical structure.
Should I adjust the stitch count or knit a different size?
Whichever creates less chaos. If the pattern includes nearby sizes and the shaping is straightforward, knitting a different size is often easier. If the size range doesn’t solve the problem, adjust the counts directly.
Can I adjust a lace or cable pattern for gauge?
Sometimes, but be careful. Repeats, symmetry, and motif placement can make direct adjustment much trickier than it is for plain stockinette or simple textured fabric.
What if I match gauge but still hate the fabric?
Then the gauge isn’t the whole story. Drape, elasticity, stitch definition, and fiber behavior still matter. If the fabric feels wrong, change the yarn or needle size before you commit to the project.
The takeaway
If your knitting gauge is off, you aren’t doomed and you aren’t bad at knitting. You just need to figure out whether the fix is a needle change, a size change, or a math change.
Start with the fabric. Then check the numbers. Then make one calm decision at a time.
And if you would rather skip the hand math and go straight to a useful answer, try the Project Size Converter. That is what it’s there for.
Continue exploring with
Project Size Converter →